wallpaper
glue / tapétaragasztó
acrylic
paint / akril
festék
polystyrene
ball / hungarocell
gömb
brush / ecset
paper
napkin / papírszalvéta
foam
sheet / dekorgumi
lap
scissors / olló
universal
glue / univerzális
ragasztó
varnish / lakk
Tapétaragasztót használva ragasszuk fel a szalvétadarabokat a gömbünkre. Teljesen ázassuk át a szalvátát, gyűrjük meg – így kapunk érdekes strukturált felületet.
Glue the paper napkin pieces on the polystyrene ball with the wallpaper
glue. Soak through the napkin and crease it so we will gain an interesting structured surface.
Tapétaragasztót használva ragasszuk fel a szalvétadarabokat a gömbünkre. Teljesen ázassuk át a szalvátát, gyűrjük meg – így kapunk érdekes strukturált felületet.
Let the ball to dry for a night. (Place it on an upturned
bottle cap in this way it can’t roll by and doesn’t stick to the table).
Hagyjuk a gömböket száradni egy éjszakán keresztül. (Egy
megfordított kupakra szoktam a díszeket rakni, így nem gurulnak el, de nem is
ragadnak oda az asztalhoz.)
When
it is dry it’s matte and lighter.
Megszáradva a díszünk újra matt lesz és
kivilágosodik.
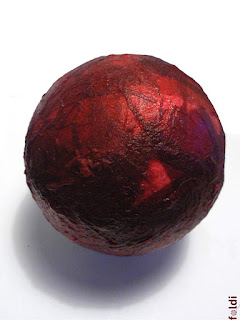
Paint it with the chosen colour. I usually acrylic paint because its
dissolvent is water and drys very quickly. Paint one side of the ball, wait
until it is dried (app 10 secs.) and then paint the other side.
Make stamp from decor foam sheet and building block stolen from our child
(or likely milk or water bottle cap). Cut out the motif (christmas tree, bell,
star,…) from the foam sheet and glue it to the chosen carrier.
Készítsünk nyomdát dekorgumi lapból és gyermekünktől elcsent
építőkockából (vagy tejesdoboz illetve vizespalack kupakból). A mintát
(fenyőfa, harang, csillag,…) kivágjuk a gumilapból, majd ráragasztjuk a
választott hordozóra.
Embellish our ball. If you use stamp the work is much more easier – you
can involve your child as well.
Díszítsük a gömbünket. Ha nyomdát használunk egyszerűbb a
munka - gyermekünk is tud segíteni.
Végül lakkozzuk le a díszt. Én most magasfényű akril alapú lakkot használtam, de választhatjuk a selyemfényű változatot is.


No comments:
Post a Comment